How to add audio to your designs in PosterMyWall
No promo or video invitation is complete without good audio. Whether it’s a jingle for your Christmas greetings or something smooth to go with your product promo, you can add your audio to videos on PosterMyWall.
You can also add stock audio to your video from stock libraries by Storyblocks.
To learn more about adding audio to your design, read on, or watch the above video tutorial.
Add audio to your design
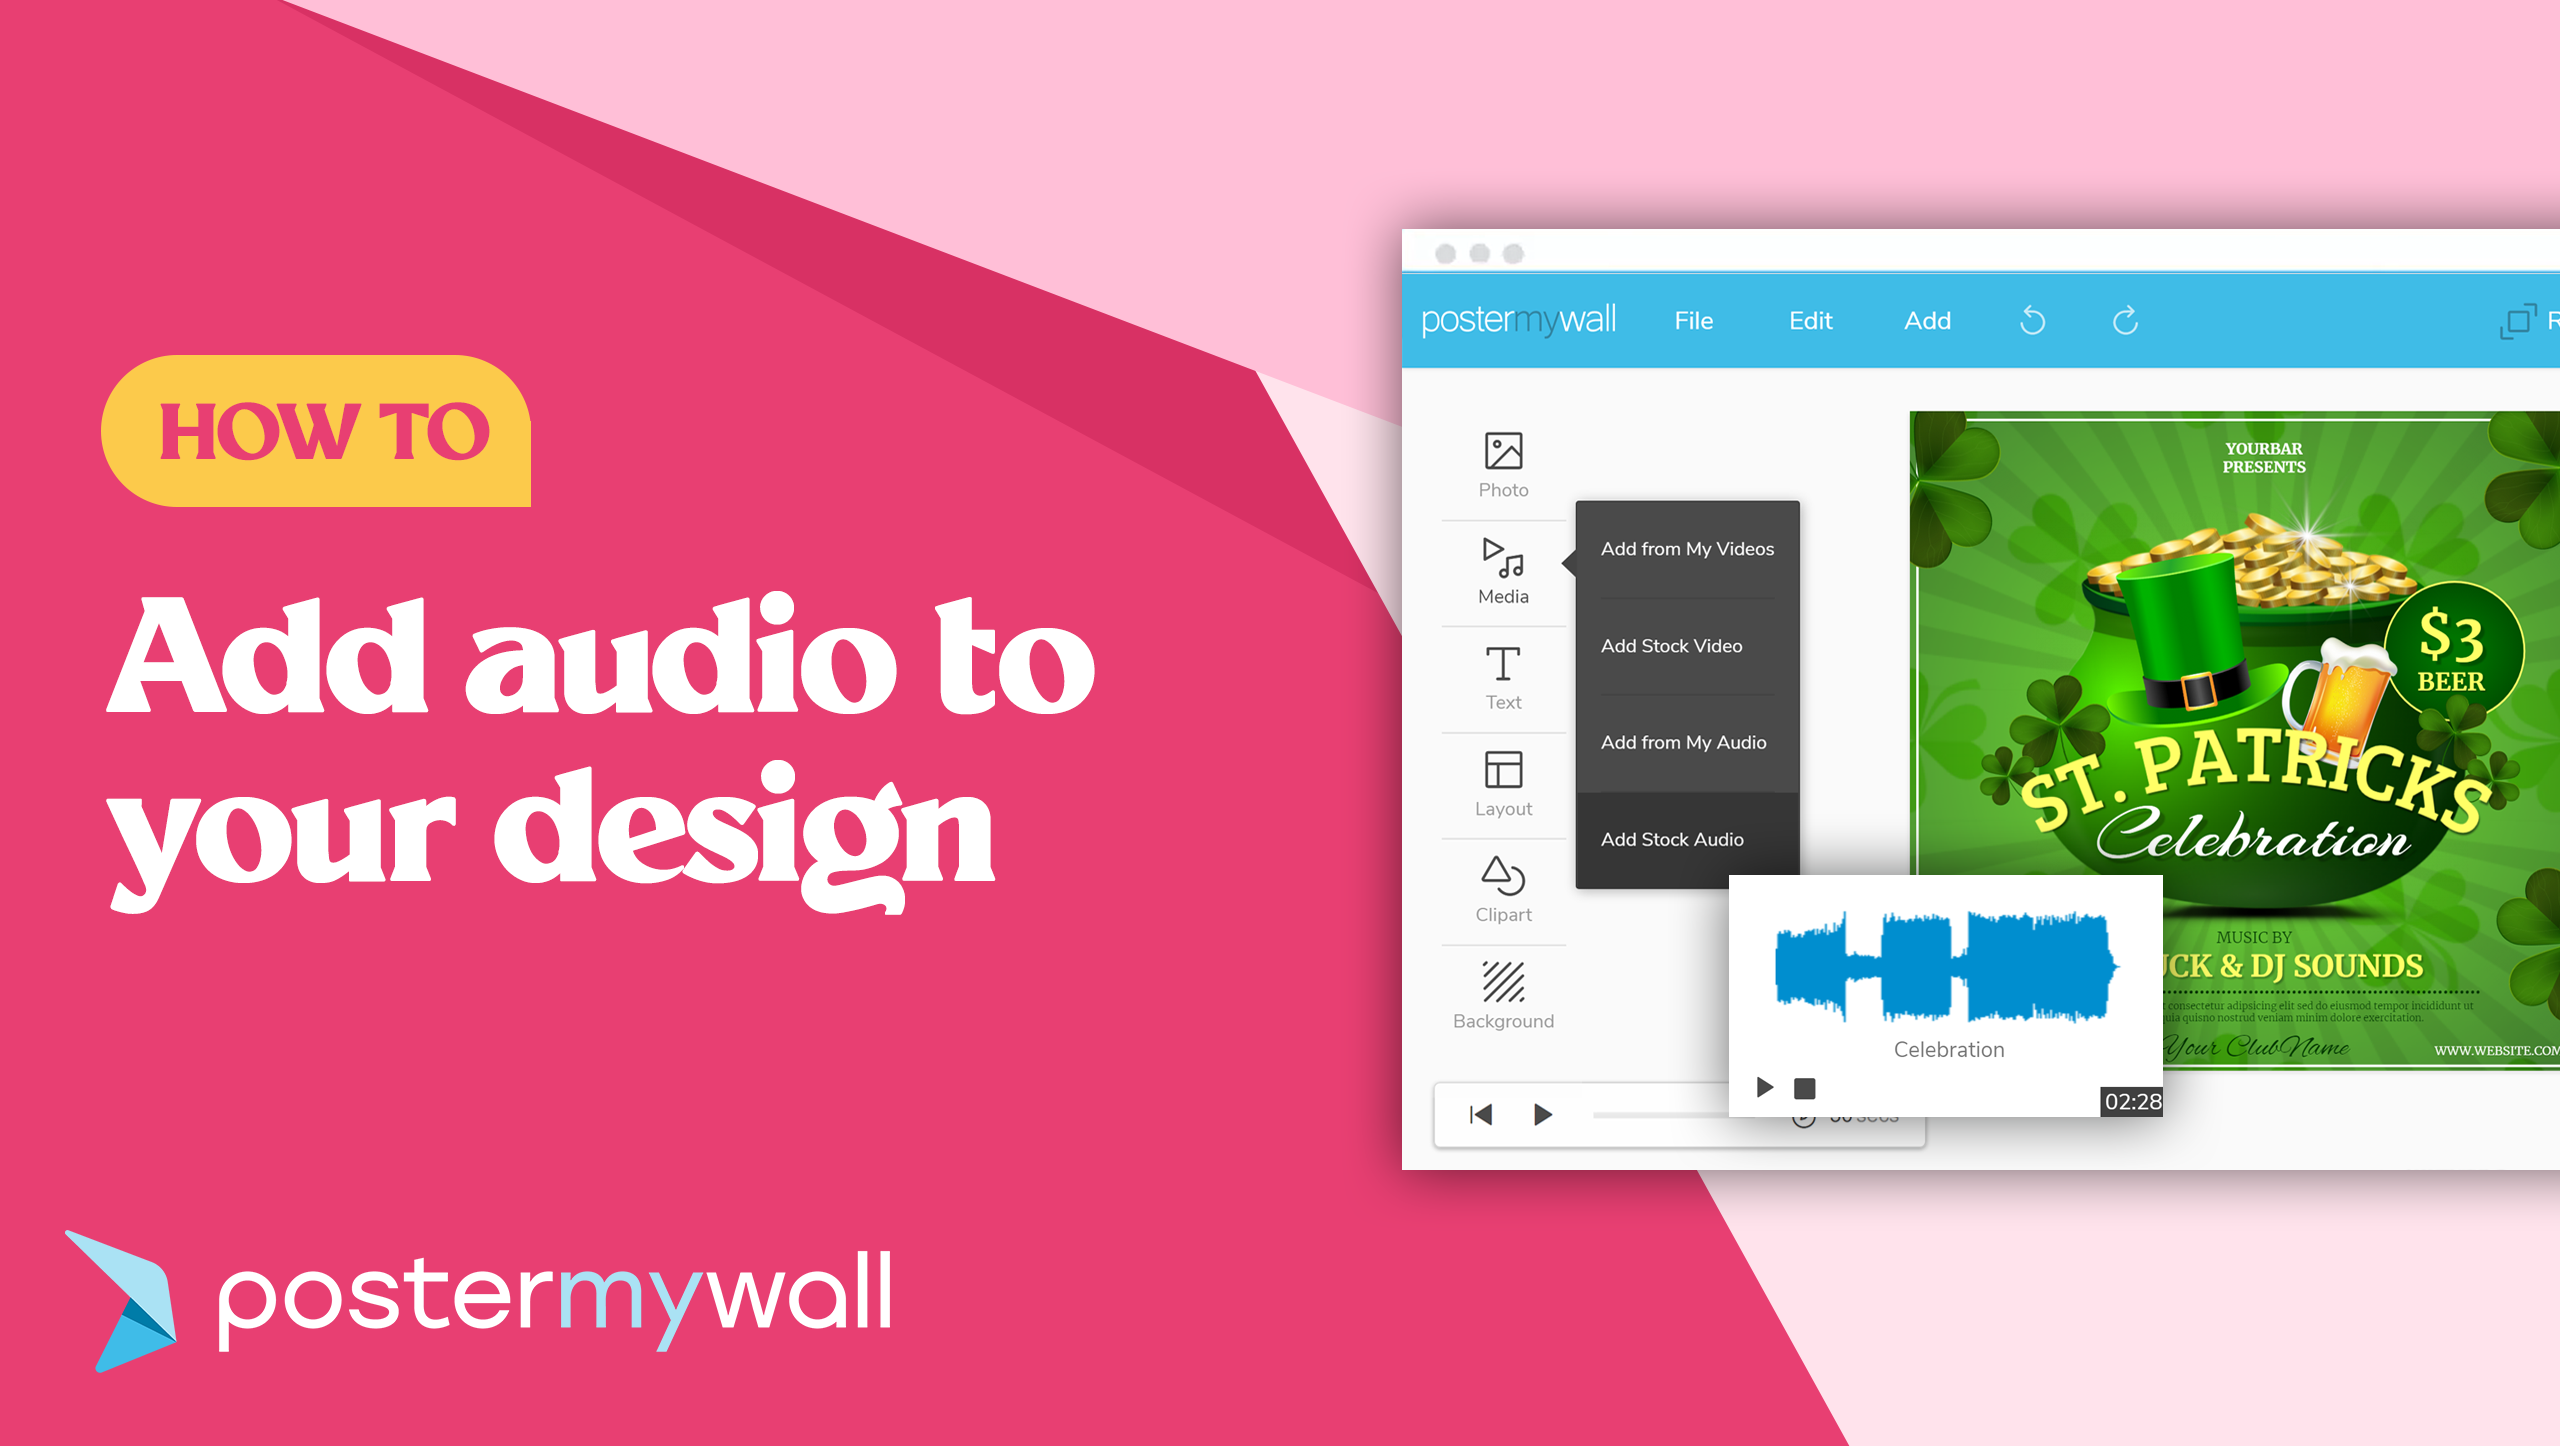
To add audio to your design, open a design in the PosterMyWall editor (it can be a video or an image file).
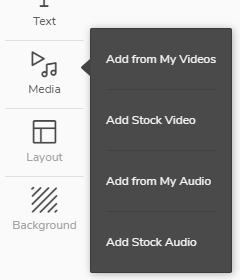
In the editor, click ‘Media’ to find the ‘Add from My Audio’ and ‘Add Stock Audio’ options.
If you have your own audio file you’d like to add, just click ‘Add from My Audio’, and select ‘Upload Audio Clips’. Now add the audio clip(s) from your device. You can save these added clips to your collection, and then access them anytime you want.

If you do not want to add your own clips, you can use the second option to add stock audio. Stock audio can greatly improve a mute video by adding substance to it, especially if it has a good beat that fits the message. You’ll find a great variety of stock audio files available for use in your design for almost every occasion.
Click ‘Add Stock Audio’ and start searching in the search box. Some commonly searched audio terms you can use:
- Upbeat pop
- Happy piano
- Corporate motivational
Added a clips can be viewed with the music symbol button found near the design canvas. This button is only visible if an audio clip has been added to the design.
Clicking the button will allow you to see your audio file, under the ‘Edit Audio’ tab. Here you can:
- Add more audio clips by clicking the plus button.
- Replace audio clips by clicking the two arrows icon.
- Trim audio clips by clicking the pencil icon.
- Remove audio clips by clicking the trash can icon.
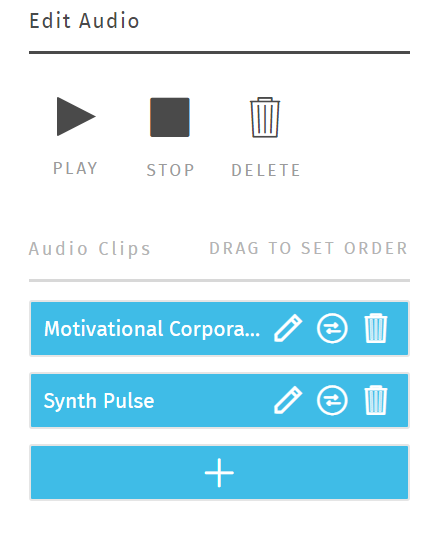
Multiple audio clips can be played one by one, but not at the same time. You can set the order of audio clips by dragging and dropping. The clips at the top will play first. So in the above case, the ‘Motivational Corporation’ clip will play first, followed by the ‘Synth Pulse’ clip.
You can test video clips with the ‘play’ and ‘stop’ buttons under the ‘Edit Audio’ settings. Once you’re satisfied with the playlist, save and download your design.
Download Format
Adding an audio clip in an image will change the file type from image to video. You’ll need the HD video download (for 14.95 USD) to get the full product. Adding audio clips in a video will make no difference to the price of the final product.
In the case of a video with preset audio, you will need to mute it first, and then add audio to it. A video with preset audio and added audio will play both at the same time.
That’s everything you need to know about adding audio in your designs. Start designing now!