
PosterMyWall live class: Easy digital signage with PosterBooking
Display menus, announce specials and sales, promote special events: digital signage can do it all. The good news is that getting images and videos up and running on multiple screens is faster and easier than you think.
In this week’s class, Jannatul Choudhury, founder of PosterBooking, joined our own Lisa Sinicki to demonstrate how easy it is to run the videos and other digital assets you create in PosterMyWall as digital signage using PosterBooking. Even better: PosterBooking is free for customers streaming to fewer than 10 screens. All you need is an Amazon FireStick.
If you missed the class, you can watch the replay above. Or learn how to set up and run PosterBooking with Jannatul’s step-by-step instructions below:
PosterBooking is a cloud platform that provides a fast, easy, (and free for ten screens or less) way to run digital signage on any display monitor. It’s perfect for anyone who is looking for a simple-to-implement, lightweight solution.
To run digital signage with PosterBooking, all you will need is:
- Any TV with an HDMI port or Android device
- Amazon Fire TV Stick 4K or Firestick Lite
- Wi-Fi connection
PosterMyWall graphics and videos that are uploaded to your PosterBooking dashboard can be running live on any screen within minutes. Here’s how:
Step 1
To get started, create a free PosterBooking account. Visit www.PosterBooking.com and click “Create free account.” This process takes about two minutes.
Step 2
Plug the Fire Stick into the TV or the screen you’re using, turn the TV on and search for the PosterBooking app in the app store. If you have an Android TV, you can search for the app in the PlayStore.
When you open the app, you will see an eight-digit code. Note this code. You will need it to connect your screen to the platform.
Step 3
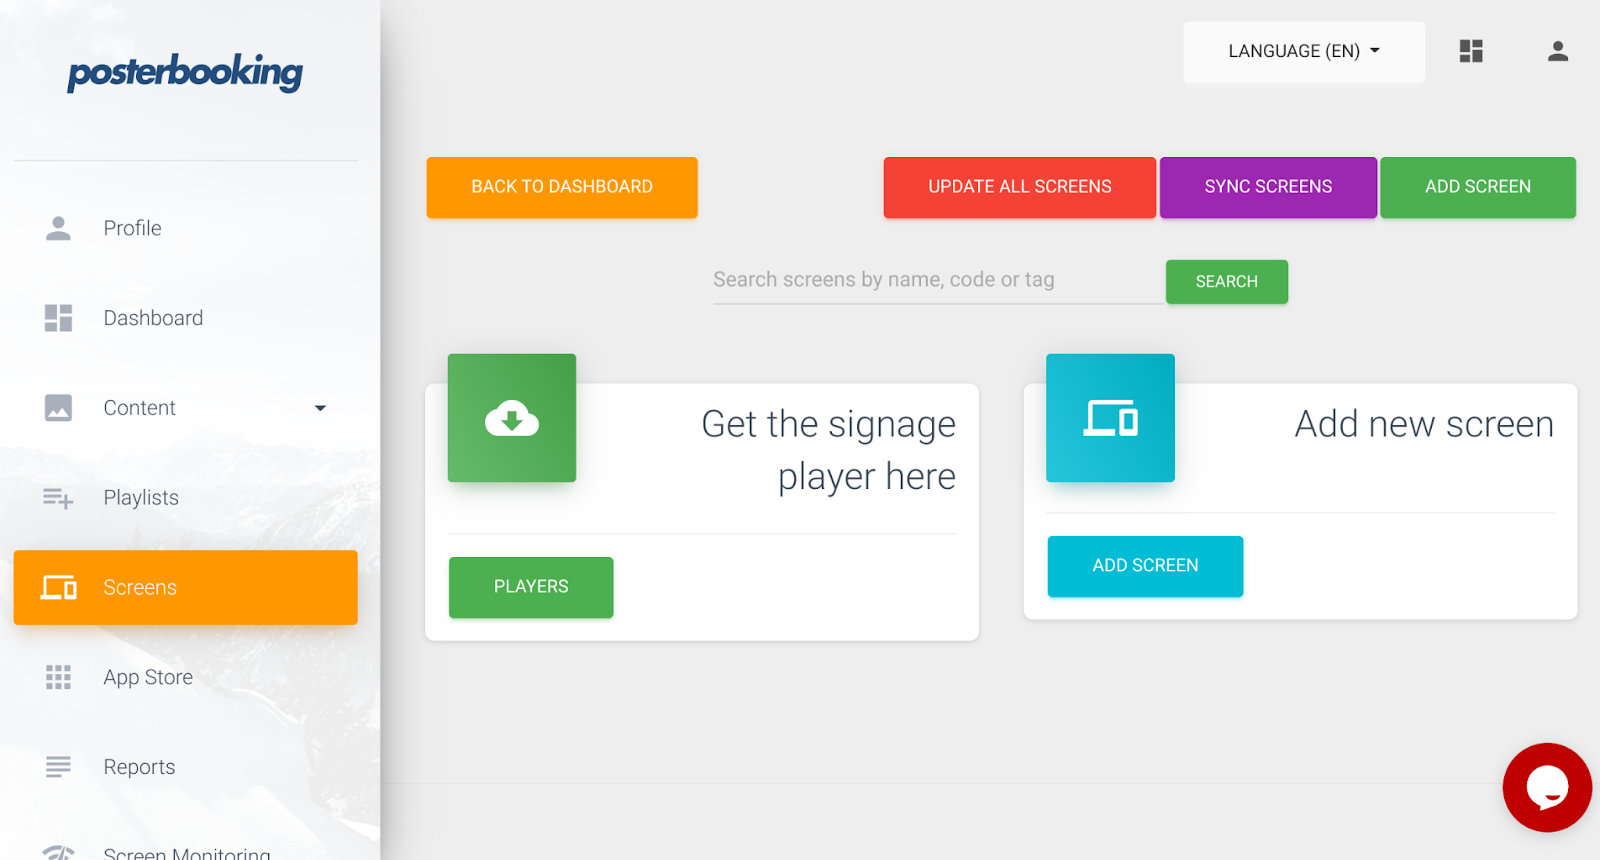
To add/link to your screens, click on “Screens” on the left hand panel, or “Add a screen” from the dashboard.
This will take you to a new page, where you will see two options. Click on “Add New Screen.” A pop-up will appear and prompt you to add the screen code you received from your TV/Monitor. If you have multiple screens, give each one a unique name to help you remember which is which.
Step 4
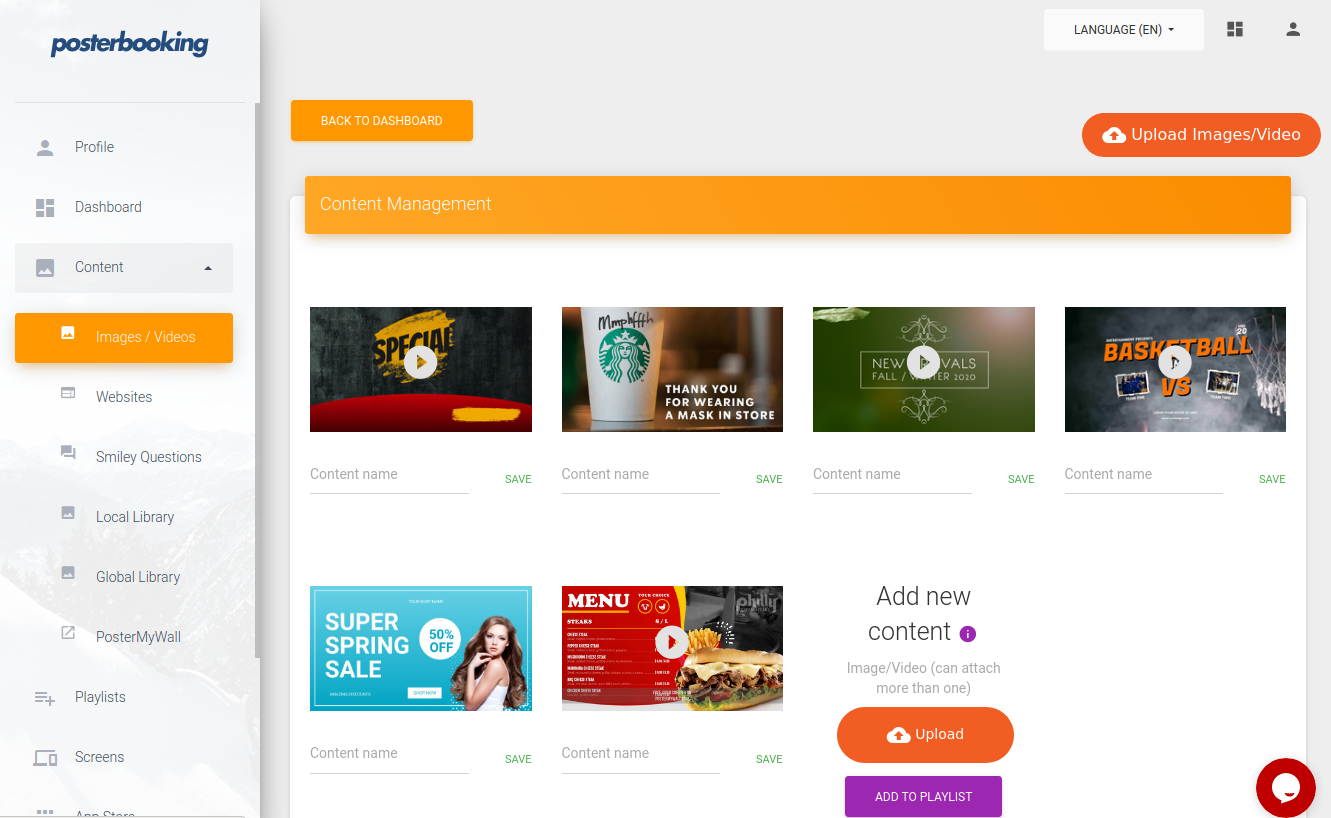
Upload your content to your PosterBooking dashboard. To do this, click “Add Content” under the content button on the right. Then click “Upload Images/Videos.”
You can also upload your content from PosterMyWall directly into this dashboard: under Content, look for the PosterMyWall button. Clicking here will take you directly to your account.
Next, select your asset, click Publish, select Digital Signage, and select PosterBooking. This will take you to your playlists on PosterBooking. Click Publish. Your content is now added to your playlist.
Step 5
Click “Playlists” on the left hand panel to create a new playlist. Name your playlist, then click on the “Add Content” button and select the images/videos you want to display.
Step 6
It’s time to go live! Go back to the playlist page and choose your playlist. Click on the “Add to Screen” button and select the screen you want to display your content on. That’s it: you’re live!
With PosterBooking, you can manage your screens and content from any computer, tablet or even your phone, which means you can update, delete or add content pretty much anytime and from anywhere. The platform is free for anyone using fewer than 10 screens and is available in seven languages.


